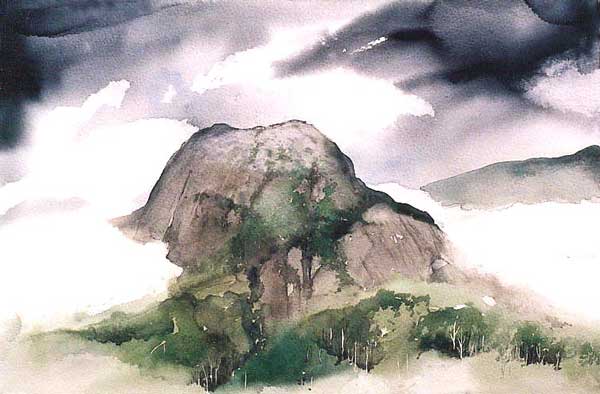
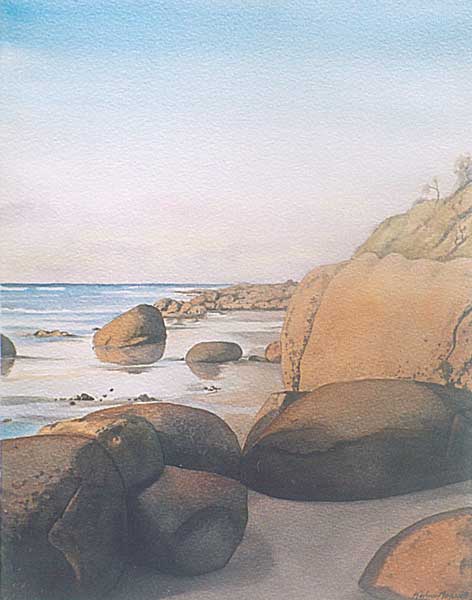
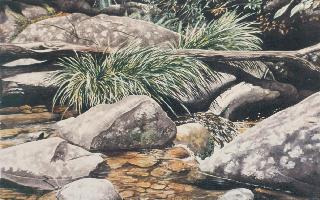
This section is a course that I wrote for Australian Artist a few years ago. In it you will find lots of tips and tricks to help you with Watercolour painting ( and a little bit that applies to Oils and Acrylics as well!)
A Dictionary definition of a professional is ‘ a person characterized by or conforming to the technical or ethical standards of a profession; while amateur activities are defined as ‘practicing an art without mastery of its essentials.’
As a professional artist you must be able to consistently achieve a standard in your work for the gallery and for clients. How do you do this? What further skills differentiate the professional from the amateur? The successful from the Sunday dabbler?
There are three elements to consider:
Firstly, selection of subject matter. The professional understands all the elements that create a successful painting, the interplay of tone, form, colour, line, drama and beauty.
Secondly the professional thoroughly understands the capabilities and properties of their tools and materials.
Thirdly they have studied and attempted to master the processes by which those materials and tools can best be applied to the task.
Fourthly, ask yourself – am I ‘seeing’ or just looking?
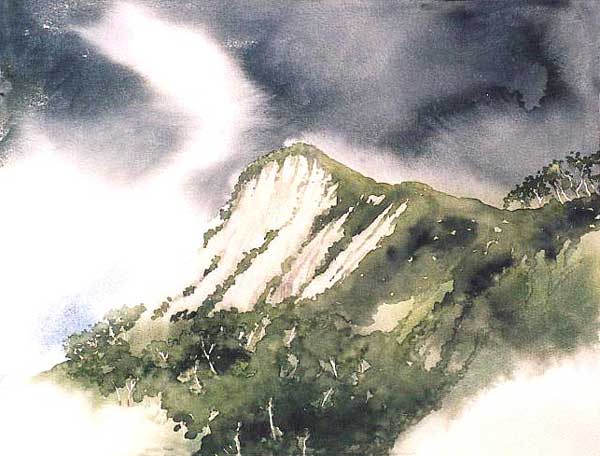
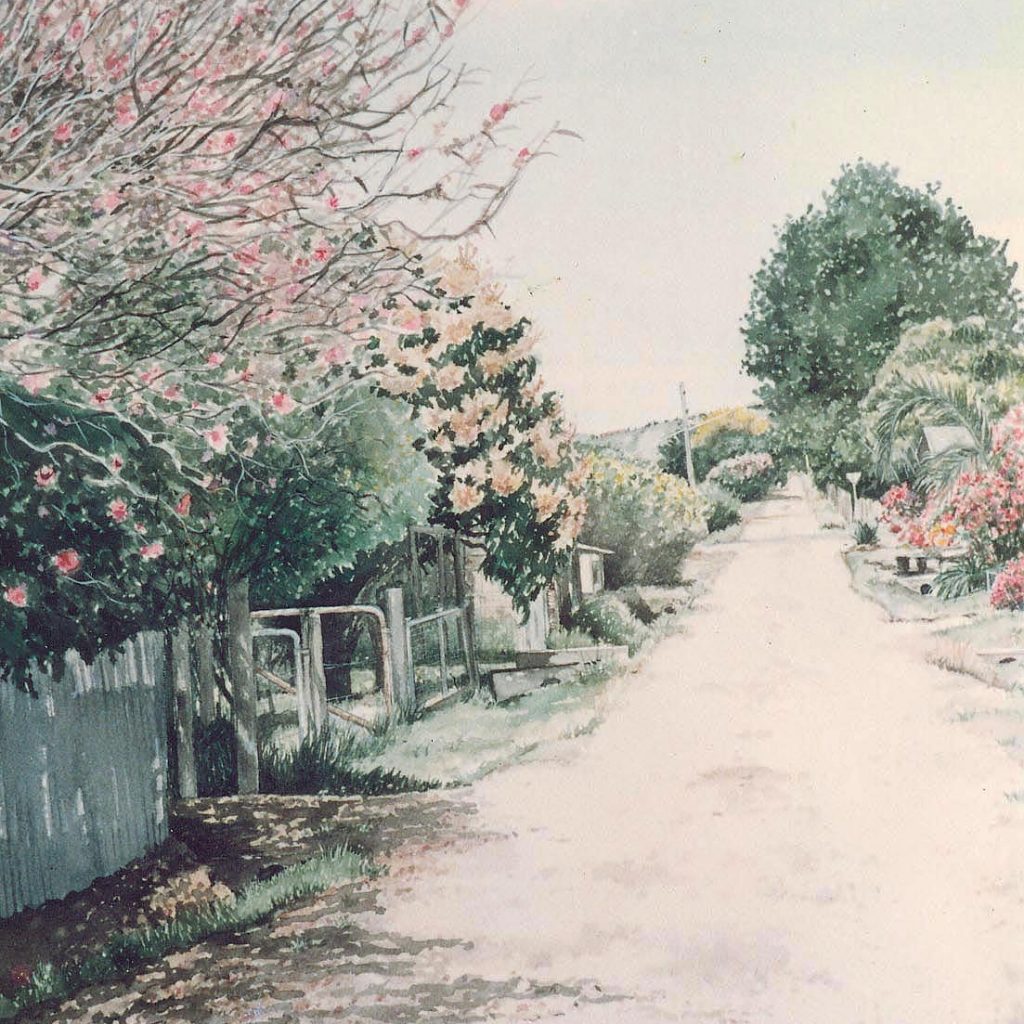
The professional understands all the elements that create a successful painting: the interplay of tone, form, colour, line, drama, and beauty
Materials
The professional thoroughly understands the capabilities and properties of their chosen materials.
WATERCOLOUR BRUSHES
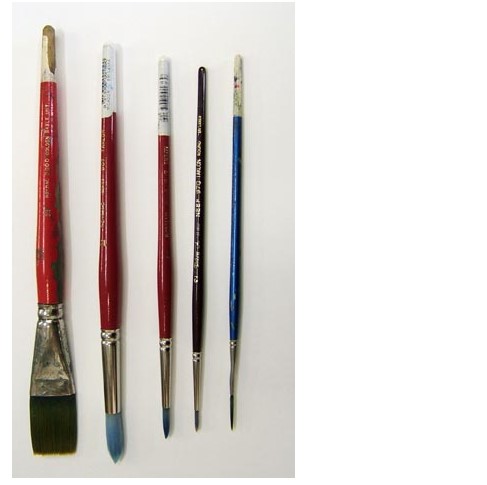
Modern technology has made some big improvements in watercolour brushes. While there will always be those who swear by the traditional and clamour for Sable, the rest of us have learned that imitation fibres such as Taklon and Golden Sable work just fine, have more spring and snap to the bristles (which leads to greater control) and what’s more if you dwell in any tropical areas of Australia you will find your precious brushes of no interest to the local insect life. (Unlike Sable, which on all evidence must taste delicious to silverfish and other studio scurriers!)
Watercolour brushes are commonly termed Rounds or Flats, and then there are Liners and Mops and Filberts. You don’t need a lot of brushes in Watercolour; you just need the right ones for the job. Rounds are the classic watercolour brush shape ; a soft bulbous base which tapers to a fine, flexible point. Flats are a straight edged brush which are indispensable for laying down large, even washes fast. Liners ( or Riggers) are like a round only long and thin and very useful for endless fine details like grass or hair because they make a fine line and hold a lot of paint Mops and Filberts are a little more specialised, and you can also sometimes find brushes made for sign writing and lettering useful for some tasks. Watercolour brushes differ from brushes made for Oil and Acrylic in that they are made from softer and more flexible material to allow fluid control and expression.
For a good basic start -buy one each of rounds such as no:12, no: 6 and no:2, a decent 1inch flat and don’t forget a Liner ( or Rigger) . Practice brush strokes on scraps of watercolour paper, or even the back of discarded paintings.
For large areas always use a large brush.
If you choose a brush that is too small to cover the area with speed by the time you get to the end of the large area you are covering ,the wash has already started to dry and edges occur which can’t be blended.
For flat, gradated washes use a large flat brush not a round. For soft, expressive strokes rounds are best but it’s not an inflexible rule. Get to know your brushes; they are the expression of your feelings on the paper. Practise on scraps of watercolour paper or the back of abandoned paintings and learn what each of your brushes is capable of.
A Round watercolour brush should come to a flexible point and have good fluid carrying capacity in the base or belly. Don’t buy rounds that will not shape to a proper point. Flats should be even along their edges and mops should be full and soft. Chinese style watercolour brushes can be very expensive and not very easy to use, western style brushes can easily substitute for them.
Always rinse your brushes in clean, cold water. Flick or wipe dry and reshape the points on rounds and the edges on flats. Leave to dry standing up and don’t put them away until they are dry. A good brush should not be damaged by drying standing up but it will get damaged rolling around wet in your painting box and drying with the bristles wedged up against something else. Once a brush has bent or lost its point or become frayed it becomes much specialised in its use i.e: it will only make one kind of mark on your paper in contrast to being flexible and versatile. This applies to both natural and synthetic brushes.
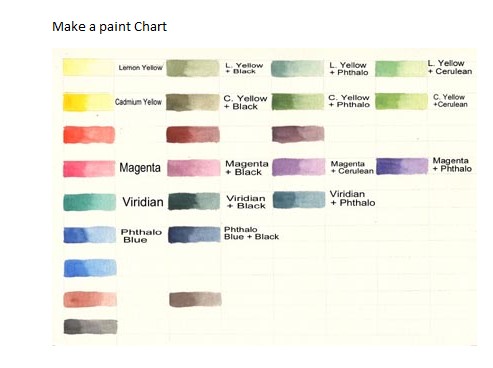
Colour Charts
The very first thing you should do when you get your new watercolours home from the Art Store is to make yourself a colour chart. It is very hard to tell just what a colour is like by peering into the tube. You need to see it in a 3-stage wash, from deepest tone, to medium to lightest wash. This is simple exercise to do which also has a couple of other side benefits – you get used to your brushes and the paper you are using at the same time. Simply rule a spare piece of watercolour paper approximately A4 size ( a size that will fit into your work box is a good idea) with a series of horizontal lines about one centimetre apart, now add some vertical lines 2.5 centimetres apart. Sort your paints into colours, all your greens, blues, red etc.This will make it easier to compare them when you are searching for just the right tint. Starting in the top left corner of the page, lay a small amount of your first colour over half the 2.5 centimetre box. Rinse your brush, then using a damp (not wet) brush, and working from the right hand edge of the tiny wash spread the colour into the other corner of the box. The end result should give you three distinct wash grades, going from the deepest tint possible (still keeping it as watercolour, not gouache) to the lightest wash. Write down the name and brand of the colour in the box on the right hand side of the colour. Do this for all the colours in your collection. Leave space in the colour sections to add new colours as you acquire them. In any remaining space, record favourite mixes so you can remember how you made them. Keep you colour chart with your paints- refer to it often, pop it in a plastic sleeve if you dont want it to get covered in splashes.
This idea works for all media – acrylic and oil paints can be painted onto a small piece of spare canvas. I even make colour charts of my coloured pencil collection. It just makes the process painting or drawing a bit easier and more enjoyable..
What Colour is That?
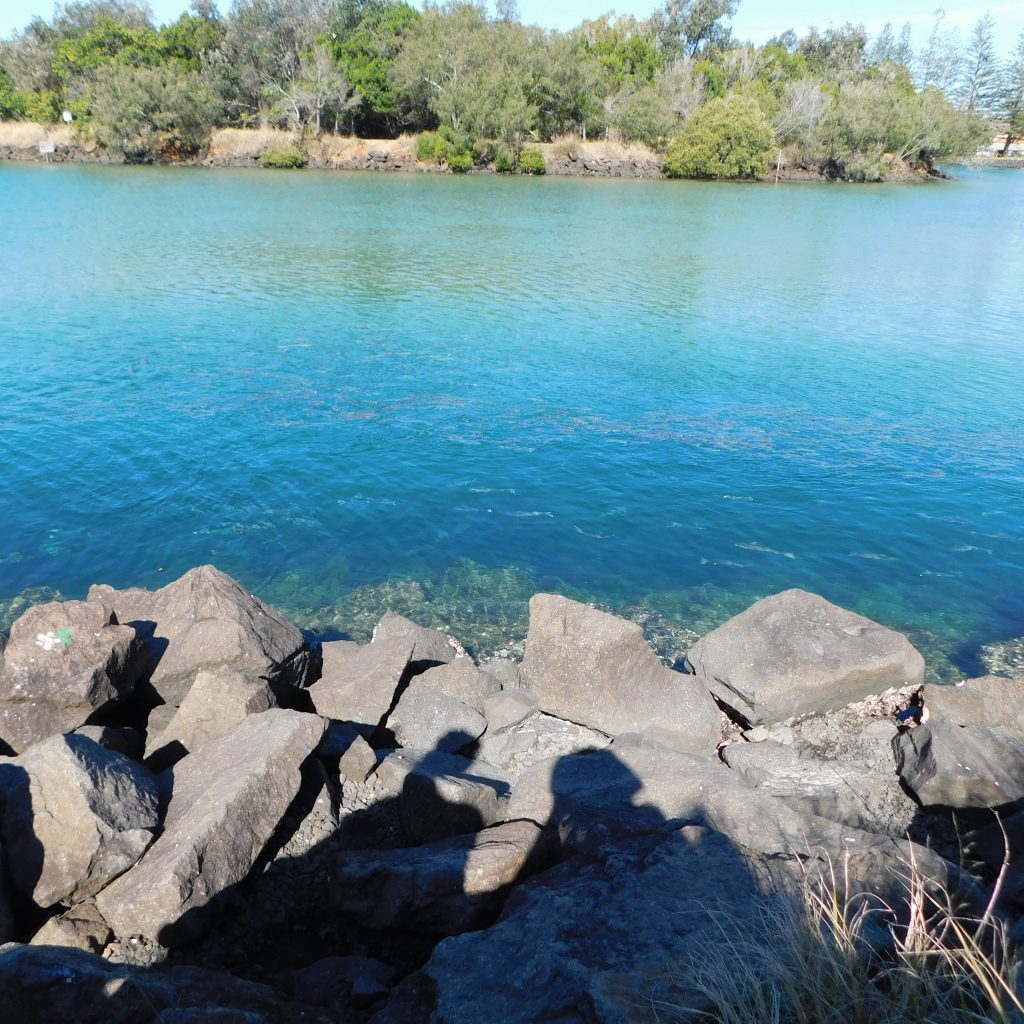
There is not and never will be an absolute and definitive guide to what colour ‘things’ actually are and how you can go about mixing colour A and colour B to make that colour in your painting. This is because all the formulas for colour in the world are subjective- they are just the way one person perceives colour .After analysis of what pigments they have available in their palette, they arrive at a reasonable suggestion for representing that particular subject whether it be the sky, grass, the ocean etc. Now most of us agree with the statement the sky is blue, the grass is green, sunflower petals are yellow , but which blue, how many greens, what sort of yellow?
This is where a lot of new painting students become undone, they look at the average watercolour colour chart, or worse, the tubes in the art shop and become completely confused because they believe that there must be one ‘right’ colour that squeezed out of the tube will be the answer to these questions. When a painting student makes the leap to understanding that everything we look at is a combination of colours and tones of colours, they still persist in thinking there is a magical, precise formula for reproducing the shade of green in a field, or the colour of the ocean on a warm day. Many arts self help books encourage this delusion .Unfortunately human nature will always look for the easy fix. It is also human nature to think that there is a ‘trick’ to all skills and if someone will just reveal it to us we will be on our way. The reality is that what we refer to as ‘Colour’ does not really exist – it is an illusion of physics and chemistry. What we perceive as colour is really a refraction of pure white light through cell structures. As light is a quality which constantly shifts and changes through the day, so does the tone of colour. Absence of light reduces all colours to darker tones or to black. Go out at night and look at the hills – what colour are they? Now look at them at dawn, midday and sunset? Are they still the same colour? At what point during the 24hours are they the ‘right’ colour? In watercolour we paint exclusively on a white ground – watercolour paper – and that is our light source. The vibrancy of the coloured washes we lay on the paper then depends on a number of other issues : the quality of the paint and paper, the intensity of the wash, the sureness of the application. At my workshops, when a student comes to me and says I need a colour for grass, or trees or what colour is bark I cannot give them a sure- fire- absolute-never fail- this’ll- do- it set of rules to follow that will produce exactly the colour they need. I can only give them questions that they must ask themselves, and these must be answered by learning to see.
Learning to mix colours is observation and practice. Artists develop their own ‘palette’ precisely because no two people are identical and how we see is filtered through our personal experience .The colour of landscape in the Southern Hemisphere is different to the Northern. In Australia, the sun is higher and brighter and the light tends to bleach out colours, particularly in the middle of the day. This has the result of deepening shadows. Because of this I use black to lower the tones of many colours in my palette. Using black- deep greens, deep blues and clear browns result. The use of blues such as Prussian blue or Ultramarine to lower tones works well in the Northern hemisphere where the quality of the light is much softer. Certain atmospheric conditions will also require these sorts of mixes. Once again you must train yourself to really Look – try to understand what light is doing to the colours in your scene.
Other Tools
Pencils – don’t chew them and always keep them sharpened to a fine point. It is a lot harder to draw accurately with a blunt, rounded point on a pencil. A 2B, 4B and 6B are capable of imitating any range of tones, a HB is generally too hard for soft watercolour paper, but if you use it lightly it is fine. Don’t sketch heavily with a 6B unless you are very sure of your lines. All pencil lines and smudges can be easily cleaned up with the artists friend – the Kneadable Rubber.
Plastic erasers are good cut into thin slices to lift out the tiniest lines with accuracy. Use both.
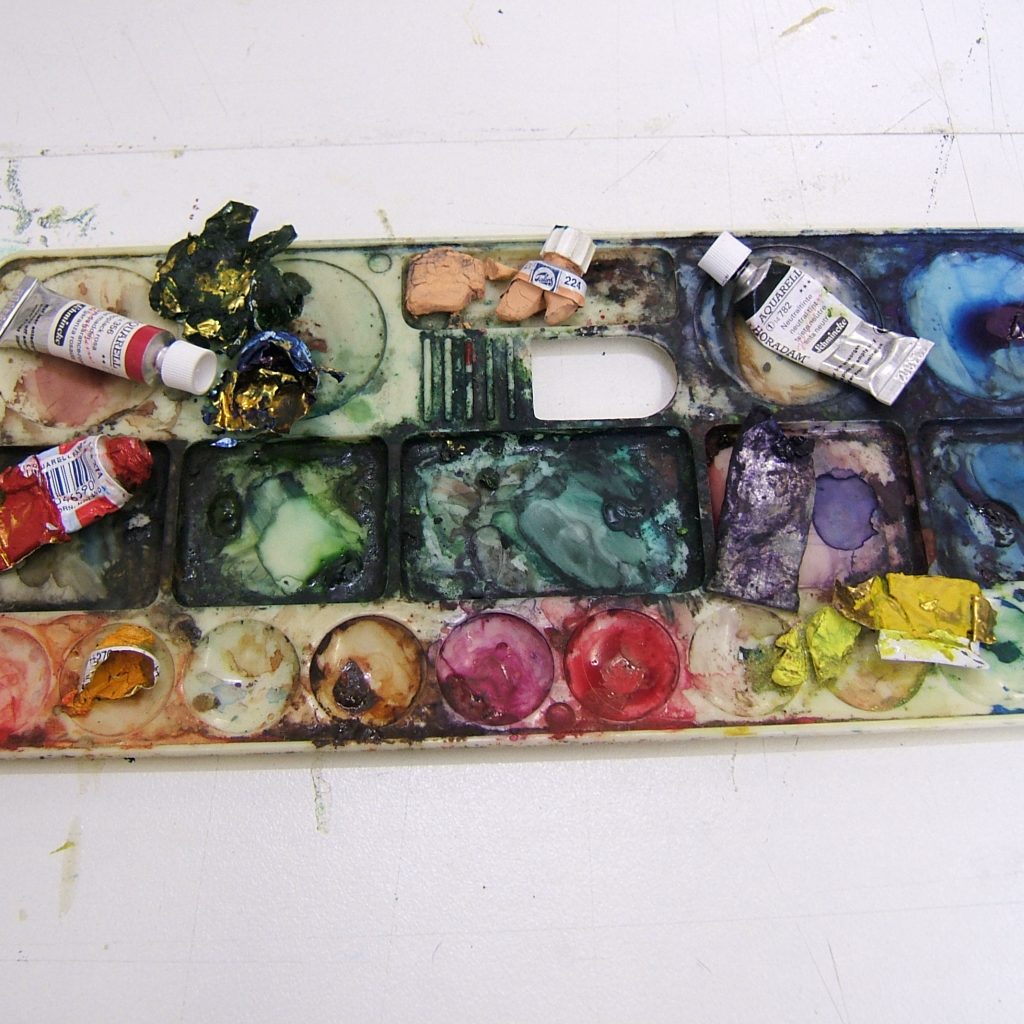
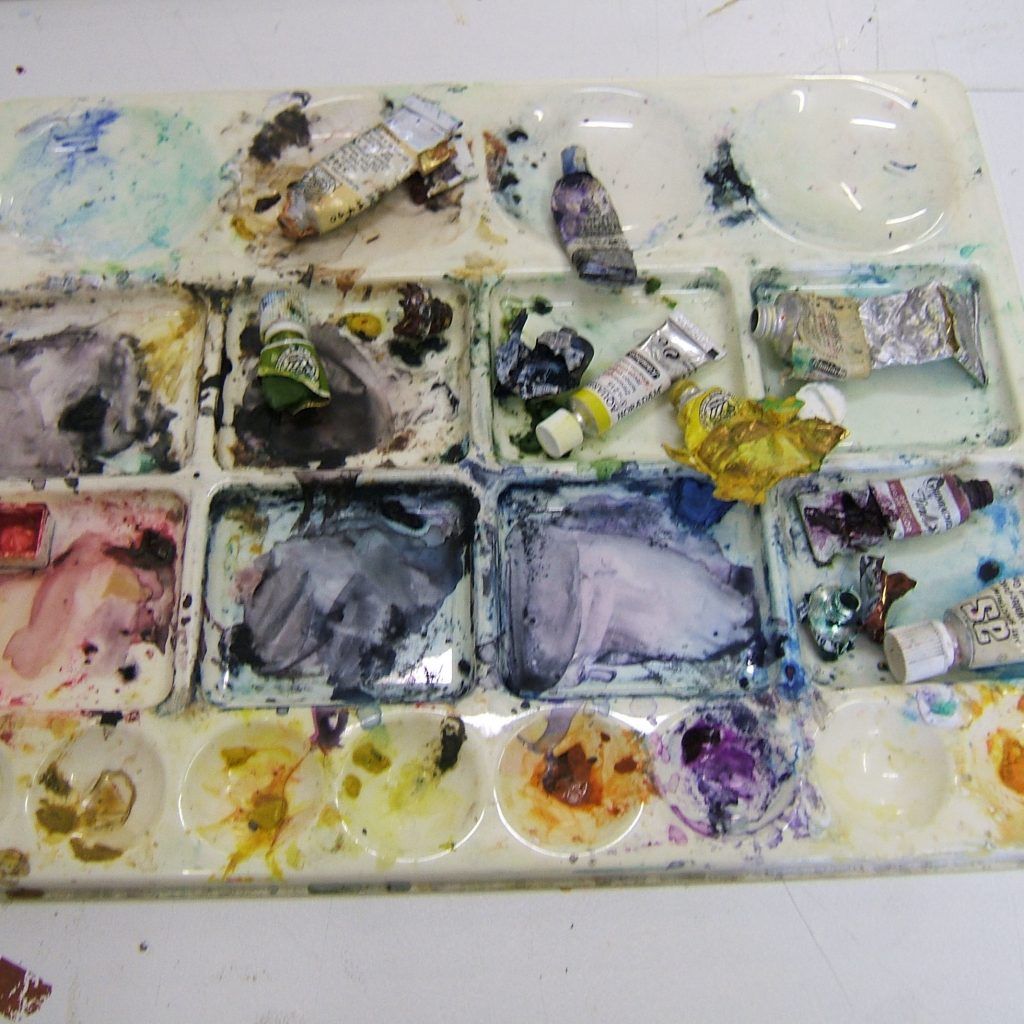
Palettes– they don’t have to be clean but they do have to be dust free. Put them away when not in use. The lay out of your palette is as individual as your subject matter and style. As a general rule, try to keep pigments in relation to the most common mixes you make, and always have a little bit of black nearby to lower tones cleanly. If you are using tubes, squeeze out what you need and keep the rest in the tube. Emptying the whole tube onto your palette exposes the colour to pollution and makes it harder to mix. Use every last drop of paint in your tube by opening them up with a craft knife. If you are going to use the best you might as well get the very last drop.
Its useful to have a range of palettes for different colour schemes and situations I only ever clean up my palettes when they get dusty or there is no more room to make a useful mix. To clean your palette, rinse under running cold water. The lightest mixes will dissolve leaving you with clumps of good paint. Blot off excess water with a tissue and start again.
Masking fluid -is a thin rubber solution that forms a barrier between the paint and the paper underneath. This is useful for blocking out fine lines or highlights so you can go over the whole area with a wash without having to go around fiddly bits. Masking Fluid is hard to get out of your brush. Always use a synthetic bristle brush, never sable and if you dip it into clean water first it will help in rinsing it out later. Once your wash has dried you can remove the masking fluid by rubbing gently with a clean fingertip. For really fine lines try using things like toothpicks and mapping pens. Masking Fluid comes in transparent and yellow formulations – and shouldn’t be left on the paper for too long as it may be difficult to remove after time has passed ( say 3 days to a week)
Other essential items:
Masking Tape – Taping paper to your board
Plain Tissues – for lifting out, blotting ,wiping brushes to a point
Spray bottle of water- to dampen areas of the painting, effects.
Small sponge – for blending
Ruler – because few of us can really draw a straight line!
The Importance of Tone
A thorough understanding of Tonal values is essential to produce scenes and objects that look ‘real’. Without tone, there is no perception of form. Tonal values, lights and darks, are what make a scene or an object look ‘real’. Without an appreciation of how tone shapes objects we cannot begin to perceive how tone affects colour value.
. If you are using digital photos and a computer you can check the tonal values of your subject very quickly by using simple editing programs which will convert the scene to black and white. If you are working from another type of image, get a photocopy made of it and study the tonal ranges in the scene. Try and reproduce some of the shades of greys and blacks using 2B, 4B and 6B pencils.
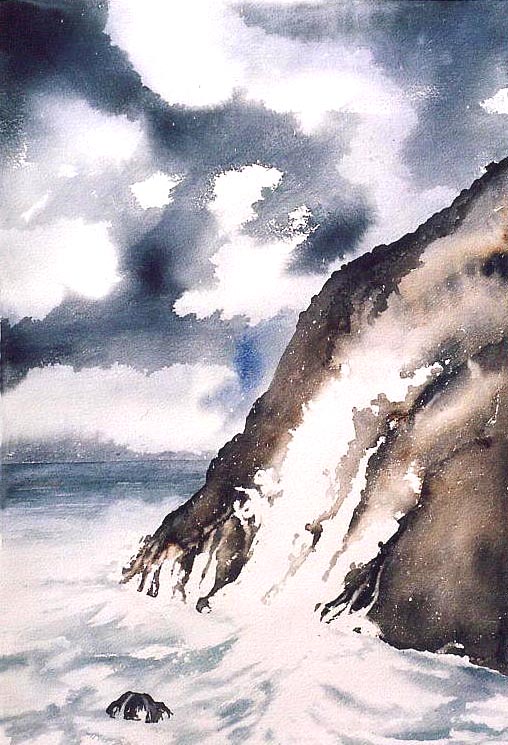
In watercolour the highest key or tone is the watercolour paper itself. The whitest areas are always the paper or ‘ground’ showing through. Working from the lightest areas of the subject to the darkest areas requires a bit of planning. Losing the ‘lights’ in watercolour is often a major problem for beginners, but the opposite problem is not going dark enough. Believing that watercolour is supposed to be ‘transparent’ often leads to a neglect of dark tonal values in the scene resulting in an unexciting result. Clear, transparent darks are just as exciting in watercolour as luminous lights. Always observe and record tonal values in your subject.
Drawing
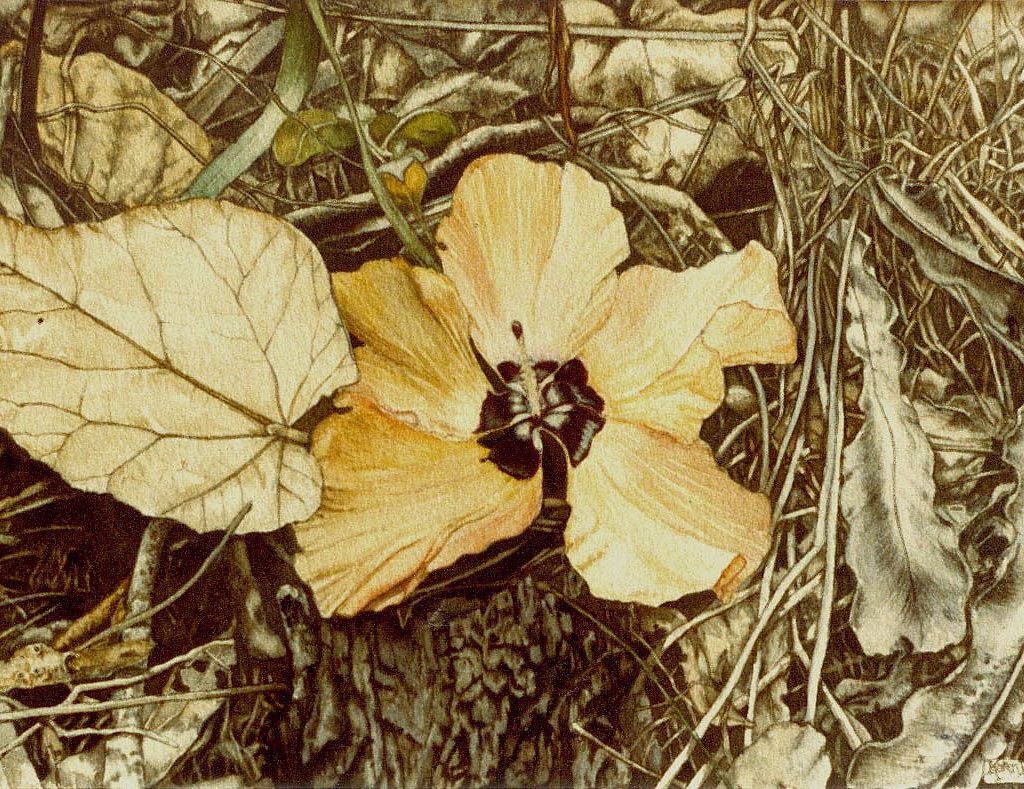
I sometimes get people coming to me who say ” I want to paint but I don’t want to draw”or” I’m no good at drawing but I’d like to paint”.
Despite popular belief to the contrary, even artists who work in degrees and styles of abstraction can and do practise drawing, and so should anyone who is serious about learning to paint. And what’s the problem? Drawing is fun, drawing is challenging and relaxing at the same time, drawing can be done while you are sitting in a plane, talking on the phone, in a spare hour or two. You can do it in a range of very inexpensive materials and it will only make you a better artist. Everyone, everyone can be taught to draw.How well they draw will depend on their application and their raw ability but everyone can achieve an improved level through practice.
Watercolour is a transparent medium in which very little can be hidden or altered, sound drawing skills are essential. Acrylic, Oils and Pastel will all allow you to make extensive revision and alterations – but accurate underdrawing will save you time and materials.
We sharpen our appreciation of the tonal values of a subject through drawing. Small tonal sketches of your subjects will help you to understand better how to paint them before you even put brush to precious paper.
Which Brand of of Paint?
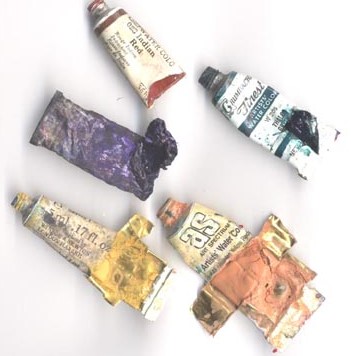
What brand of watercolour paint do professionals use? They use the brand that best suits their style and techniques. So if you’re not sure of what you will be painting, what choice do you make?
Watercolour as we know it is a modern modification of an ancient recipe. From Neolithic man to Ancient Egyptian wall painters to manuscript illuminators in the middle ages the process for painting on a surface was fairly similar. You ground up some pigment and added a binder to make stick to that surface and you painted it pretty much in one go before the paint dried out. To make it stick, you used a gummy substance such as egg yolk or gum Arabic. In the modern watercolour tube is pigment which has been finely ground to which has been added a little bit of Gum Arabic and a moistening agent such as honey or small amount of wetting agent to make it remain moist in the tube; Pans and Half pans simply omit most of the moistening agent. Modern watercolours can be remoistened after they dry out on the palette and reused. In the tube they generally remain pliable, if they don’t, and your tube turns into a hard lump, open it up with a craft knife and use it as you would a pan. If you get home from the store and squeeze out your paint and you get clear amber liquid the wetting agent and gum have separated from the pigment through storage at the shop and warehouse. You can keep squeezing until it stops appearing, (your paint will dry in the tube eventually though) or you can take it back and ask for a replacement. This occasional problem is worse with some pigments than others.
If it’s such a simple recipe what makes the difference between the good stuff termed artists or professional quality ,and the less good student quality? And if you are just starting out, shouldn’t you just get the student quality because after all it is a little cheaper and you mightn’t be any good at this?
Always buy ‘ Artists’s Quality’ watercolour.
Professional or artists quality paint by law, must be made from pigment of a specific quality. It must be ground very fine between large rollers and mullers so that that when it is mixed with water and passed over paper in a loaded brush, these fine granules of paint will hang suspended in the wash allowing the white of the paper to reflect through the spaces in the between .This is what gives watercolour its famous ‘luminous’ quality. The less fine the grind the bigger the particles the more granular and dull the wash will appear.
Because pigments themselves have very individual qualities, some will never be as fine as others. Burnt Umber for instance, and Cobalt colours granulate through a wash leaving a ‘speckled’ or ‘granulation’ appearance precisely because they contain a mixture of fine and coarser and heavier particles which sink to the bottom of the wash layer very fast leaving the top layer of the wash to dry more slowly. Very fine pigments such as a Rose Madder will suspend evenly through the wash giving a clean, glowing look.
There are about 6 top watercolour brands commonly available in Australia and although they all can claim the appellation ‘artists’ quality they are all subtly different in inherent qualities from one another. You can only appreciate the differences between them by knowing what watercolour paint is supposed to do in the first place. All good quality brands can be mixed with each other once you learn what their differences will do to the mix. However, you cannot mix student quality with artist quality and expect the good to drag the poor one up to its level- the reverse happens.
If you start out your adventure with watercolour with a poor quality set of colours (and I know that so often inexperienced or well meaning art store staff can be the culprits here) you will find it impossible to reproduce the glorious effects that you see others producing with watercolour and you will begin to blame yourself for muddy washes and colour mixes. Give yourself a break at the very start and buy good quality or even a few of the major brands and find the brand that appeals to you.
Papers
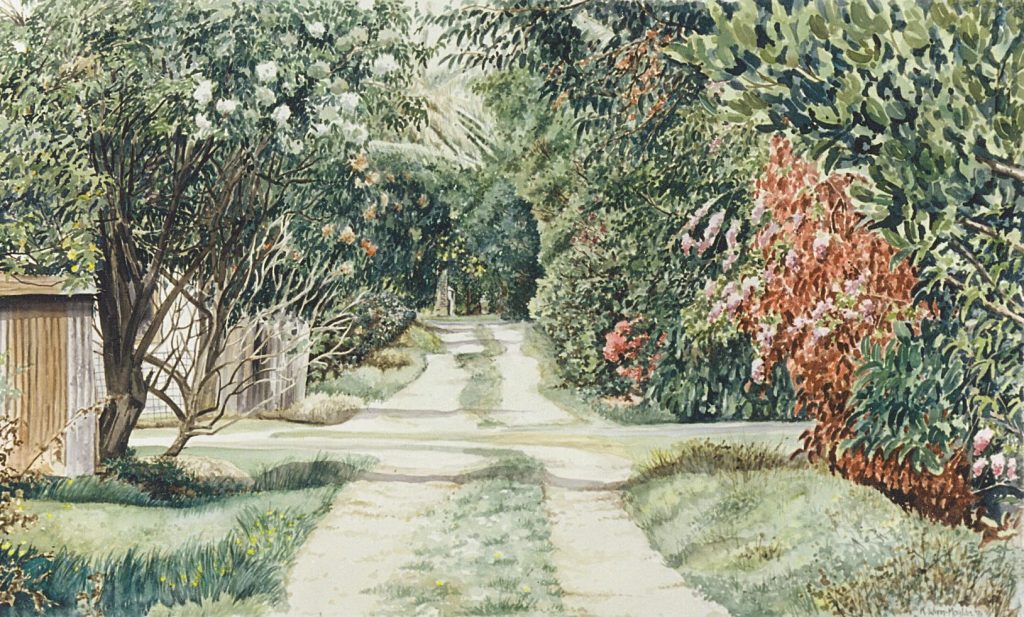
You can paint oil or acrylic paint on almost any surface but watercolour must have its own specially constructed paper, which isn’t really a paper, it’s closer to a kind of fabric.
Watercolour paper is made from linen and/or cotton fibres which are slopped back and forth in linear vats till they ‘felt’ together .The difference between this and cartridge paper is that ordinary day to day paper is made out of wood pulp and is intensely acid, it will therefore yellow and crisp in a matter of years and disintegrate.
Watercolour paper generally possesses these characteristics : it has a textured surface which can be evenly random ( vat made sheets) or uniform ( machine rolled). This texture varies from extremely smooth : Hot Pressed papers , to medium textured to very rough (called Torchon). It comes in very thin to very thick sheets – called lightweight, medium to heavyweight which is designated by the gram or pound weight eg: 300gsm, or 140lb. This is the weight of a whole ream of paper, not the one sheet! And it ranges in colour from very bright white, to cream to even greyish or bluish.
Hot Pressed papers are silken smooth .They present little resistance to the brush stroke, make colours look quite bright and make it difficult to achieve even washes over large areas without a great deal of practice and experience. Good for fine detail work they come from thin and flimsy to quite thick and are priced (as are all papers) with the heavier papers being the most expensive. Because they are very smooth surfaced they absorb brushstrokes very fast leaving you only a tiny window of opportunity for blending your strokes.
Cold Press papers have texture which can vary from medium to very rough and practically turn into board in the heavier weights The texture in a Cold Press paper slows down the rate of absorption, so you have more time to blend edges..
The Rough papers have a surface which catches at the wash giving you interesting textures. It is harder to sketch and depict details on super rough papers.
If you are just starting out, go for something in the middle, a medium weight paper with a cold pressed surface (around 300gsm). You can make a more informed choice about which paper to work on when you have a better idea of what sort of subjects you want to paint. Botanical paintings for instance are easier on a smooth paper, a seascape will look great with a rough paper but these are just guidelines not rules.
Some of the best results can occasionally happen when totally inappropriate papers are chosen for the subject. It’s important to try out different papers and experiment and have fun. Buying a sheet of paper and cutting it up with sharp scissors is more economical that buying watercolour blocks and is generally better quality paper.
Watercolour paper is vat made, acid free and as a further refinement is ‘sized’ on one side so the wash doesn’t sink straight into the paper. Without the sizing, the paper would be closer to blotting paper. Be aware that many etching and printing papers look like watercolour paper but are not sized in this way. Just remember, the right side of the watercolour paper is the side you can read the watermark on, if you’re seeing the brand name of the paper backwards when you hold the sheet up to the light, you’re working on the back of the paper and the results will less than satisfactory as you are working on the unsized side of the sheet. Double sized sheets are available in some brands, but at double the price!
When you sweep a loaded brush across the surface of watercolour paper, tiny puddles form in the textured depths of the paper, while a thinner layer of colour sits on the ‘ridges’ between. The luminosity of the dried wash depends on the brightness of the paper, the consistency of the sizing, the fineness of the grind of the pigment in your colour, the quality of the pigment itself, the amount of water in the wash mix and the rate at which it all dries undisturbed. Viewed side-on under a microscope, watercolour paper is made up of all those interlocking layers of fibre and acts like a sponge to soak up the water. The speed at which it does this depends on the type of paper so there is no one rule for all types, makes and weights of paper. You must experiment and test out unfamiliar brands of paper. Once a wash has been applied the water in the wash sinks through the paper leaving the colour on the surface layer where evaporation will gradually dry it out. But those lower layers are still holding a lot of water, so you have to wait until they dry as well which is why paper can look dry but still feel damp to the back of the hand.
A Lighter shade of Pale
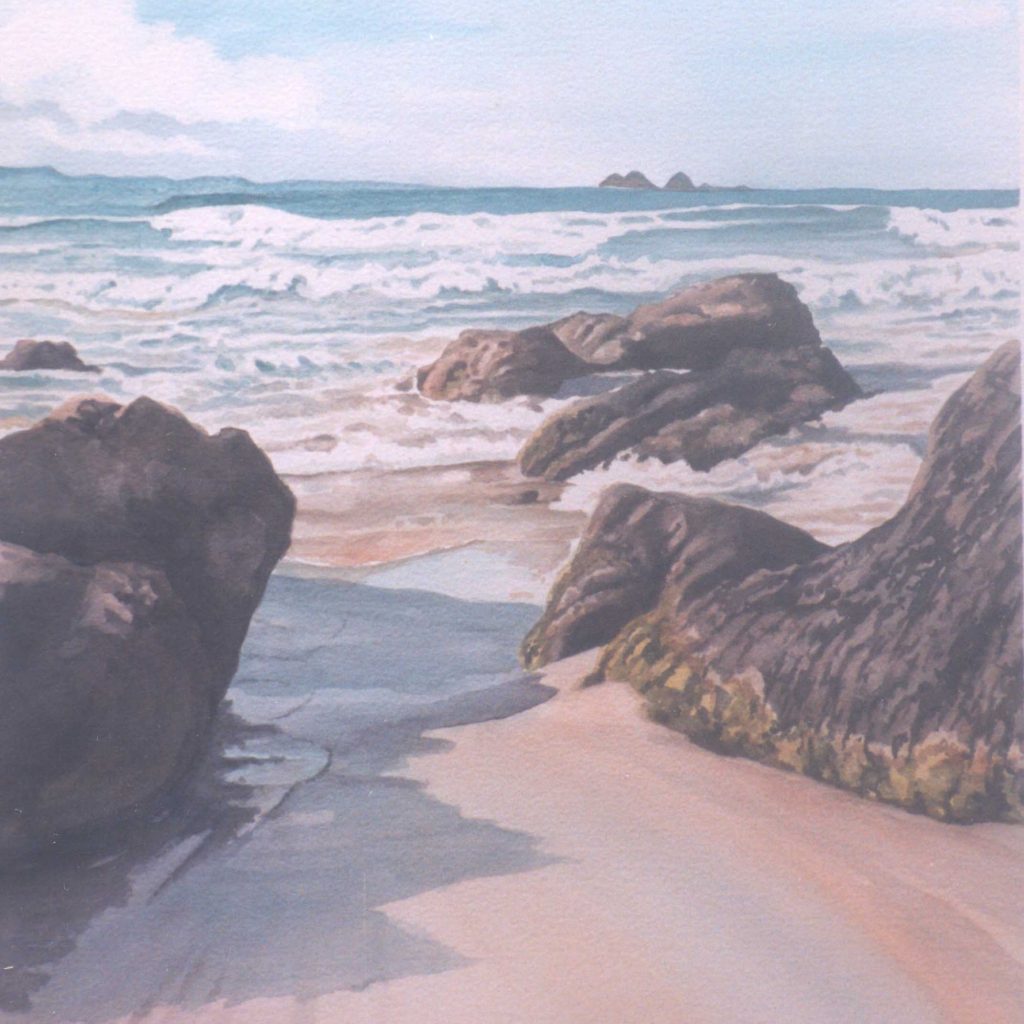
In watercolour it is the rule not to use white paint. Highlights are achieved by leaving the white of the paper (or ‘ground’) to show through. To do this you have several options – you can indicate in your under drawing the areas which are white and make sure you don’t paint over these, or you can prevent the paint from reaching these areas by with either a physical block Masking Fluid , or by quickly lifting out with a tissue the areas you want to remain light. The rule against white is simply that any white paint will have a ‘gouache’ or opaque appearance in the work and look clumsy in comparison to the transparency of the rest of the painting. Fine, light details in the middle of broad wash areas can only be achieved through the use of Masking fluid. A good tip is to use toothpicks for delicate tree branches , as once the fluid gets into the base of a brush it’s very hard, if not impossible to remove it. If you missed an area in your planning you still have a few more chances. You can lift out a small areas using the tip of a brush (old, worn brushes work best for this so don’t throw away a brush simply because it has lost its fine tip); you can sponge large areas out using a soft sea sponge; (good for ‘misty’ effects) or you can scrape tiny slivers of light along fence posts etc by using the flat of your craft knife. Just make sure the paper is absolutely dry before attempting this technique. And at a pinch you can use tiny amounts of white gouache or watercolour in small areas where they will add a bit of light but not look too obviously opaque. Once you have added an opaque paint into a painting you cannot rewet the wash. Watercolour will remain stable when lightly rewet but white paint will float off! Watch out for this if you have used watercolour pencils to augment details in your painting- they are not waterproof like dried watercolour.
Wet on Wet, or Wet on Dry?
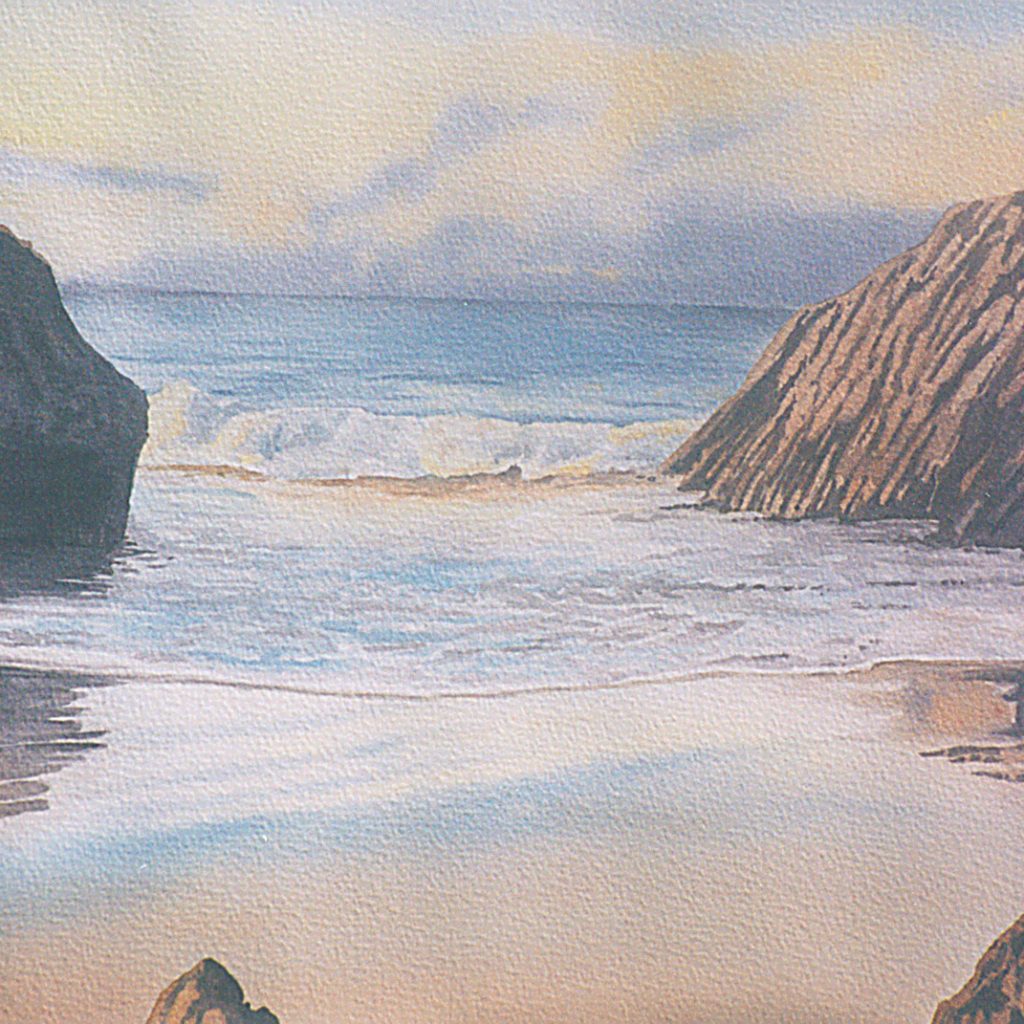
All watercolour paintings are a combination of two basic watercolour techniques:
Working Wet-on-Wet and working Wet-on-Dry.
Wet-on-wet simply refers to the process of wetting part or the entire surface of the paper and laying a wash down or dropping in colour off the point of the brush usually before the shine has dried off the paper.
Wet-on-dry is simply painting directly onto a dry surface, whether or not there is already an existing layer of wash on the paper.
How do you choose what is the most appropriate approach for your subject?
The simplest rule is: the larger the area, and the lighter the tone, the softer the blend or ‘edge’ – wet the paper first.
The smaller or more distinct the area, the more precise the ‘edge’ needed – work onto the dry paper.If you want to paint a simple sky with a soft gradation of colour from deep blue to pale blue to almost white, wetting the paper first slows down the drying process so you have time to load up your brush and fill the area.
But if that sky has those colours and some dramatic clouds in the whiter area then you have to wait until the first wash is totally dry and paint the clouds in after.
Use the back of your hand to check whether a sheet of paper is really dry; if it feels like damp washing, it is not properly dry. You can bend this rule to produce soft, fuzzy backgrounds by applying details, for instance, distant leaves or twigs, when the wash has dried to the point where there is no shine on the paper. It should be just damp enough to soften and blur the outlines.
Waiting for paper to be dry before adding a second wash is one of the most important rules towards successful watercolours. if after laying in the first wash you decide to add more colour over a wash which has only partially dried – the second wash begins to disturb the first and you get a muddy mess. To understand why, it is interesting to look at Watercolour paper is constructed.( see ‘Paper’)
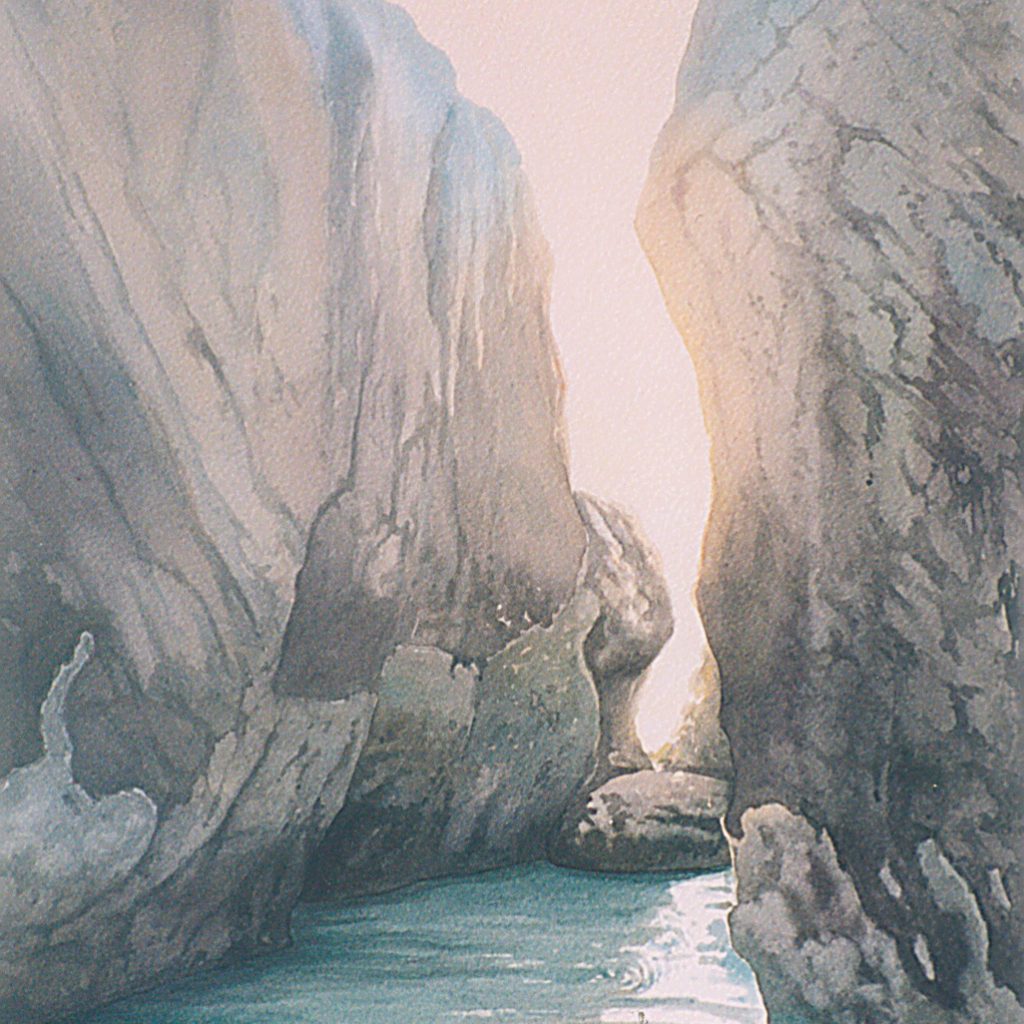
Working from photos or ‘plein-air’?
ITS A GOOD PHOTOGRAPH BUT…
Some artists like to work right in front of the scene. Coined ‘plein air’ painting by the impressionists, who popularised the idea of getting out of the studio and into the great outdoors, its advantage to the artist is that it allows you to fully appreciate the quality of light and shadow in the scene you are trying to depict. Once photography was invented however, professional artists seized upon it almost immediately. Recognising the convenience of capturing a scene just at the right moment and the luxury of being in a studio where they were not at the mercy of the elements (those northern hemisphere winters are pretty cold), working from photographs became a standard for many artists (Pisarro used to paint from postcards sent to him by friends!). So photographs are the norm for a lot of painters and with the advent of digital photography even more inexpensive. But a great photograph does not necessarily make a great painting.
Subject matter, tonal quality, composition, foregrounds, details, all these things are called into play in photos that do not necessarily translate into the painting process.
Nearly every photograph you take will need cropping and reframing for painting – if only to rid the foreground of unnecessary clutter or dark tonal areas. How many photos do you have of scenes with large blocks of dark colour in the foreground, say trees on a hill, or dune vegetation? When these are translated into paint they can completely overwhelm the rest of the painting.
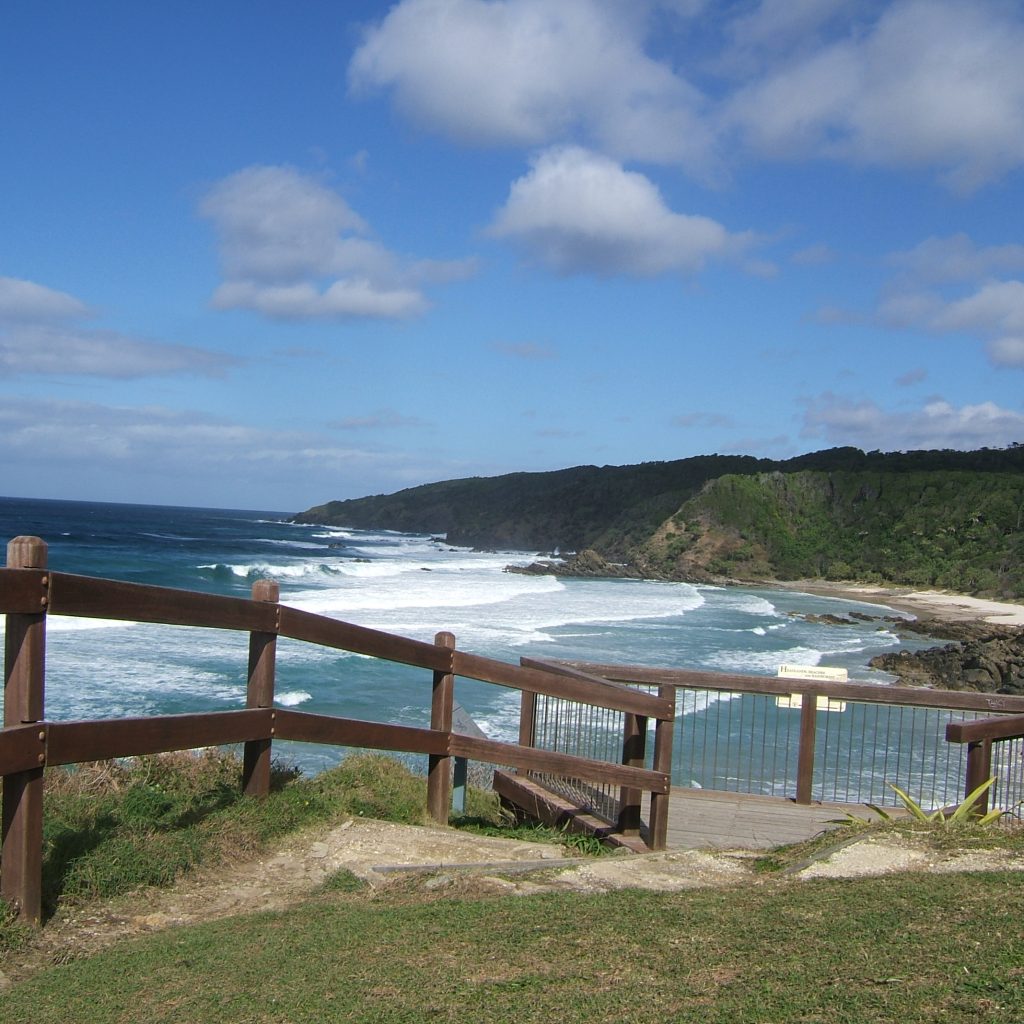
Where’s the ‘Hook’?
However great the shot it can usually be edited and improved upon to make an even better subject for painting, but while you are busy taking a bit off here and there, don’t lose what attracted you to the subject in the first place. Paintings have ‘hooks’ just like a good song has a hook. That’s the catchy piece of the music that goes round and round in your brain and makes it stick there. A good painting subject has a hook too and what it will be will be your personal choice, what attracted you to the subject matter in the first place. Was it the colour of the flowers, the way the clouds were forming, or the quality of light on the hill side? Whatever it was, make sure it is still there at the end of the painting. Sometimes in an effort to ‘simplify’ subjects, daunted by a new challenge, we end losing what attracted us to the subject in the first place.
So let’s say you have selected your scene, tightened up the composition to focus on that hook but when you had finished the painting you weren’t happy with the way it turned out- what went wrong?
Ask yourself these questions:
Did I under work? – Result, too pale and watery, no drama. Solution: Add some deeper tones to the work, re-examine shadows, add depth.
Did I over work? Result, muddy washes, no highlights. Solution: lift out some of your wash with a damp sponge, scrape tiny highlights with a knife, add tiny amounts of gouache where needed.
Did I put in too much detail? -Result, painting loses focus.
Solution: tighten composition by eradicating distracting foregrounds; always do a small tonal sketch before starting.
Did I lose my ‘Hook‘- is the thing that made me want to paint the subject in the first place still there prominently?
Solution: Always ask yourself before commencing to paint:” Why am I painting this subject. What do I want to show the viewer?”
Some notes on Being an Artist
The Physical
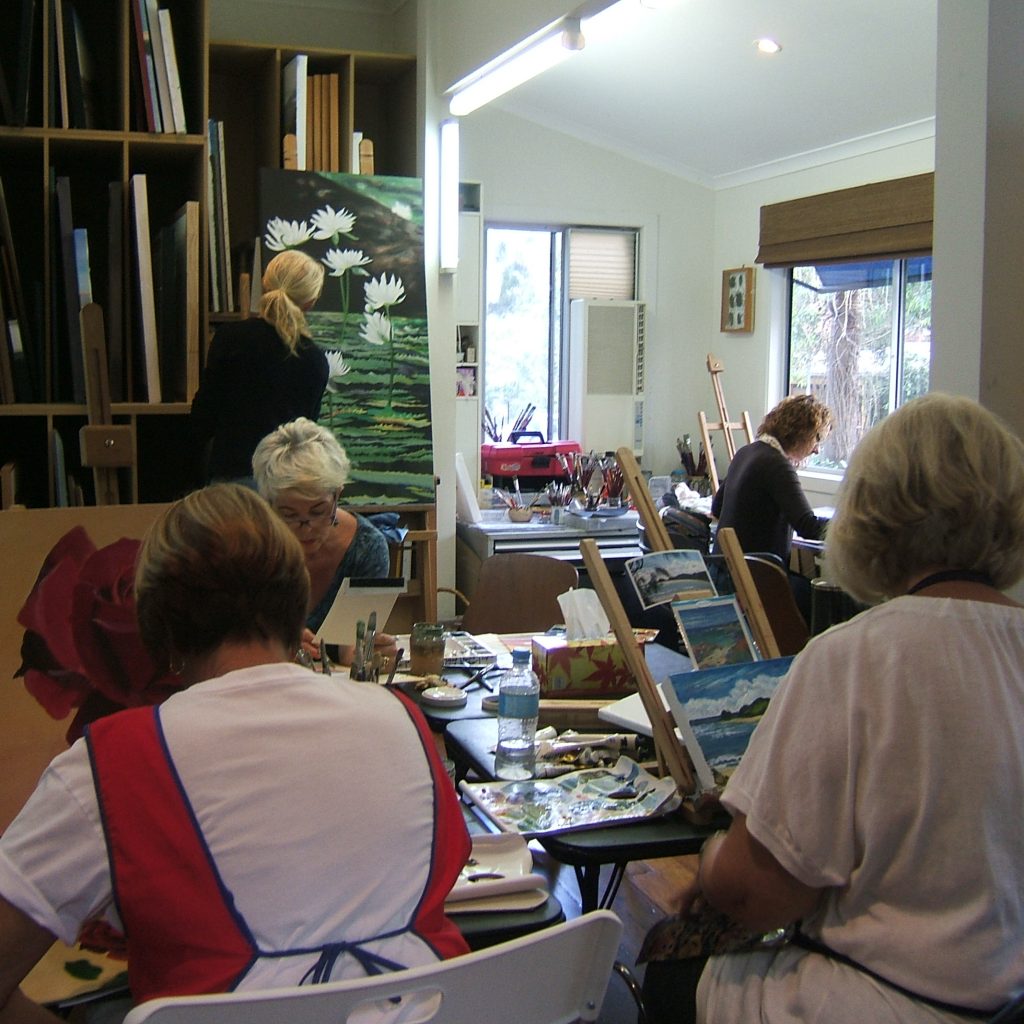
Painting can be very hard on you physically. Professionals spend long hours in the studio, so make sure that they are sitting comfortably and seeing their work under good light. If you are not fortunate enough to have a room to work in exclusively for painting try and make a little space somewhere where you can control the lighting and leave your work undisturbed. Daylight balanced fluorescent tubes are invaluable if you cannot work near natural light. If you cannot install these then try not to choose colours at night under standard lighting you will find everything looks the wrong colour in the morning. Sit in a comfortable, adjustable chair and try to remain relaxed.
Stand up and stretch from time to time and go for a walk when you finish work. Drawing and painting should flow freely from the shoulder, not be confined to a small movement in your hand. If you notice any pain in your neck or back after working on a painting have it checked out by a health professional.
Always wash your hands after working before eating and never put brushes in your mouth to shape the points!
The Mystical
Even total beginners to watercolour can gain enormous pleasure from simply mucking about with paint. Painting is an absorbing, calming activity. Yes, sometimes you may get frustrated because you can’t understand why something hasn’t turned out the way you had hoped but that’s the nature of watercolour. It’s just as important you let things happen in watercolour as to make things happen. To enjoy doing this requires confidence in the outcome and you can only acquire this through lots of painting and mucking about- otherwise known as ‘practice’. One of the great rewards with teaching watercolours and painting generally is it allows me to open up a whole new world to people. Students report to me after a few weeks instruction that they go out into the garden and begin to see a new range of tones and colours. They become more attuned to the way light affects our perception of objects, the interplay of forms and shapes- and this makes life a whole lot more interesting. They enjoy the challenge of achieving the perfect wash, finding just the right mix, controlling the brush more expressively. Painting makes you more attuned to your own world; you see it literally with new eyes, because the process of learning to paint and draw is forging new neural pathways in your brain and opening up your perceptions to fresh subtleties in a world you thought familiar. For this reason, and because we are all individuals with our own unique ways of seeing, I do not presume to teach ‘style’. I teach process and technique. I believe we all have something to contribute to recording the beauty of the world we live in – we all have a different vision, so I see my role as providing you with the skills to do so. An art teacher should be like a tennis coach or music teacher- you don’t expect to be playing the Opera House or winning at Wimbledon, but you can improve your command of technique and performance to enable you to enjoy the game more and derive a lifetime of pleasure from playing.
Once the pathways of perception are opened, they can never be closed. Through learning to paint and draw, you will enter new worlds, vibrating with gorgeous colours, qualities of light and shade, and endless possibilities for subject matter. You will never be bored again.
Studio 3 Bangalow

Here is where I live and work in Bangalow in Northern New South Wales. I conduct workshops and give personal 0ne-on-one tuition here. For more information go to my Tuition Page.
Summary
If working from a photograph, refine the composition by masking the edges.
Do a small sketch or two, analysing tonal quality and refining the composition.
Analyse what colours you need and practice colour mixes on a spare piece of watercolour paper.
Lay out colours on your palette, make sure there is ample paint and space to mix on your palette
Rehearse the order of the washes in your mind or even write it down on a scrap of paper.
Test out any new materials you are going to use before beginning painting.
While painting:
Work on clean paper, no fingerprints or dirt
Allow each wash to dry thoroughly -don’t fiddle with them.
Mix colours on the palette, or allow washes to mix on the paper
Use Less Transparent pigments to ‘charge’ Transparent washes for excitement.
Use a large brush for a large area.
Stand up and stretch or go for a walk the wash will dry and your perception will refresh
After painting:
Clean all your brushes in cold water reshape their points and edges and dry standing up.
Put your palette away out of the dust.
PAINTING TIPS AND TRICKS
Papers, Surfaces and Grounds – what can I paint on?
Watercolour
I am often queried as to whether there are other papers one can use other than expensive Watercolour paper. When using watercolours. It all depends on what sort of result you want at the end, whether you are painting a final work or just a sketch . At the very top of the line are all the best, acid free, handmade or machine rolled watercolour papers with the names you might recognise such as Arches, Saunders Waterford, Fabriano, Canson, Schoellerschammer and many others. Watercolour paper is made to a standard of whiteness, surface texture and feel; it is buffered with anti moulds and acid free so it can be guaranteed to last for decades and it is ‘sized’ on one side ( sometimes two) so that washes remain bright and luminous and workable for a few seconds to a few
minutes. When you look at all the time and trouble that has gone into producing the average sheet of arist’s quality watercolour paper, you wonder why anyone would bother trying to paint on anything else.
And indeed for gallery presentation, only the best will do.
You can however experiment with rice papers and other handmade surfaces, you can paint on silk and other fine fabrics ( these can be fixed by using a special fabric medium which is then heat treated) and small scale colour reference sketches can be made in sketch books etc. However, as a general rule, for a truly successful work using watercolour you should always use the paper made for the medium. Note: There is also Watercolour canvas available – but experiment with this first to see if it is to your liking- it demands a m ore ‘saturated’ approach to applying your colour than on paper.
Oils and Acrylics
Acrylic paint on the other hand can be used on a number of surfaces. After you get past the standard of stretched canvas, you can try working on wooden panels that have been coated with gesso and sanded. This is a smooth surface, quite different in feel and result to the ‘weave’ of canvas. You can also paint on fabric ( such as T-shirts) You can apply paint directly onto plain wood but a better result is obtained if there is some undercoat so that the colours have more depth. Acrylics can be used onto glass to create ‘stained glass’ effects, onto metal ( eg: cars)
and many other applications. At most art stores you can find handbooks listing the range of mediums obtainable for the brand of paint you have selected that will give you an idea of more uses for this versatile medium.
Oils can be applied to many of the same surfaces as acrylics- however their longer drying time may make them the second choice for certain jobs. For both Acrylics and Oils you can gesso your own surfaces- Gesso is the white undercoat or primer that is found on all good prepared canvas – it is a mixture of acrylic paint and calcium carbonate ( Plaster of paris). You can prepare your own canvases using gesso, on boards or to use it to improve store bought canvases. When using it on boards always let it dry thoroughly between coats and give a sand using a fine grade sandpaper.
Pastels
Pastels papers such as Mi-Tientes come in a range of colours to provide a background undercolour to your work.
If you want a white backgrond for your work Pastels can be used on watercolour paper also, although it is best to use the hot press papers as they are smoother. But if ‘toothy’ is the feel you like try the range of Colorfix papers- a surface that is specially designed to catch the colour of pastels and enable easy reworking without clogging of the paper. You can prepare any surface – such as cardboard or even mounted canvas with colourfix primer and use pastels on this. Pastel can be overlaid on any surface that is not going to flex but it has to be protected against smudging. For this reason it is not advisable to combine pastels and acrylics on canvas- but they can be combined if on paper that will be framed under glass.
Pastels work well with watercolours if applied after the watercolour is totally dry. Once you have applied a layer of pastel you cannot paint over it again with watercolours.
Pen, Ink and Pencil
And also charcoal pencil all work best on papers and can be used in combination with anything else that works on papers also.Apart from watercolour paper you can use illustration board, high quality cartridge paper and a range of papers that come in pads that are for ink and line work. Note that some of these papers will not take a lot of watercolour work though.
Copyright 2006 Karena Wynn-Moylan. All Rights Reserved.
